How to Plan Patio Installation on a Budget: A Professional Guide
The installation of a permanent outdoor living surface represents a significant intersection between residential civil engineering and lifestyle architecture. Unlike temporary landscaping features, a patio serves as a foundational element that alters the site’s hydrology, thermal mass, and spatial utility. When executed correctly, it functions as a durable extension of the home’s interior; when mismanaged, it becomes a source of drainage failure, structural settling, and recurring maintenance costs. The primary challenge for the modern property owner is to navigate the high cost of skilled labor and raw materials without compromising the structural integrity of the base. This component is invisible upon completion but dictates the lifespan of the entire asset.
Achieving high-utility results within financial constraints requires a departure from the “aesthetic-first” approach common in consumer catalogues. A budget-conscious strategy must be rooted in the mastery of sub-grade preparation. In many respects, the choice of the surface material—be it reclaimed brick, natural stone, or pre-cast pavers—is secondary to the geological stabilization occurring beneath the surface. A patio is only as resilient as the soil compaction and the drainage layers supporting it. Therefore, the planning phase must prioritize long-term durability over immediate visual impact, ensuring that capital is allocated where it provides the most structural value.
In an economic climate defined by material volatility, the distinction between “cheap” and “cost-effective” is paramount. A cheap patio often ignores the necessity of a geotextile barrier or an adequate gravel base, leading to “paver heave” or weed infiltration within two seasons. Conversely, a cost-effective patio utilizes strategic sourcing, modular design, and phased construction to achieve a professional-grade finish. This article provides a definitive reference for this methodology, analyzing the technical trade-offs required to build a permanent, low-maintenance outdoor space while maintaining fiscal discipline.
Understanding “how to plan patio installation on a budget.”
The phrase “how to plan patio installation on a budget” is frequently misinterpreted as a mandate for inferior materials. In the context of building science, a budget-focused plan is actually one that minimizes “lifecycle costs.” A common misunderstanding among homeowners is that the surface material constitutes the bulk of the project’s value. In reality, approximately 60% to 70% of a patio’s structural success depends on the excavation, the base aggregate, and the compaction density. A budget strategy that cuts corners on the depth of the gravel base to afford expensive slate tiles is a classic failure of prioritization.
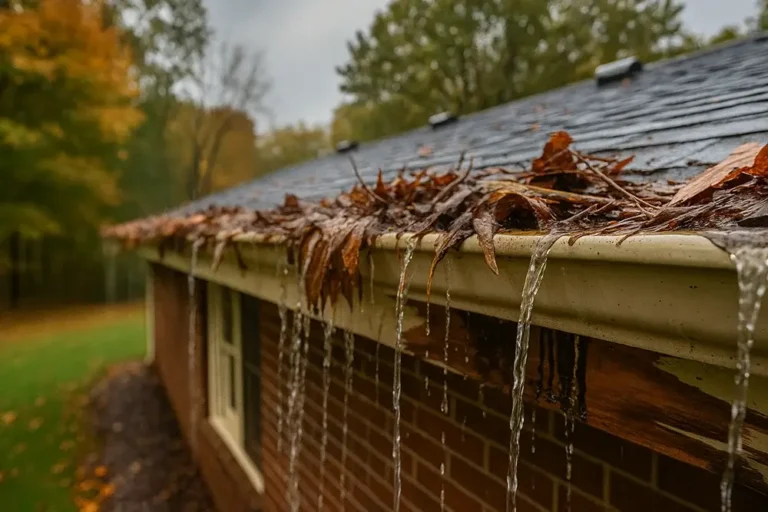
Oversimplification risks often manifest during the site assessment. Many believe that if the ground “looks flat,” it is ready for paving. This ignores the “pitch” required for moisture management. A patio must divert water away from the foundation at a rate of at least one inch for every eight feet of run. Failing to account for this during the planning stage leads to “foundation water risk,” where the budget patio becomes a catalyst for a multi-thousand-dollar basement repair. Understanding the project involves viewing the patio as a hydraulic system as much as a social one.
A multi-perspective analysis also reveals that the “budget” can be stretched through “phased modularity.” Rather than installing a massive 500-square-foot patio with mid-tier materials, a more sophisticated plan might involve installing a 200-square-foot high-quality “anchor” patio designed to be expanded in three years. This prevents the “buy it twice” syndrome, where a low-quality installation must be demolished and replaced when the owner’s budget increases. Mastering the budget requires the discipline to distinguish between what can be added later (lighting, seating walls) and what must be perfect from the start (excavation and base).
Deep Contextual Background: The Evolution of the Outdoor Living Floor
Historically, the patio—from the Spanish patio meaning an inner courtyard—was a localized response to climate and material availability. In the Mediterranean and Latin American contexts, these were often stone or clay surfaces designed for thermal regulation. In the American suburban context, the patio evolved from the “concrete slab” of the post-war housing boom to the sophisticated “interlocking paver” systems of today.
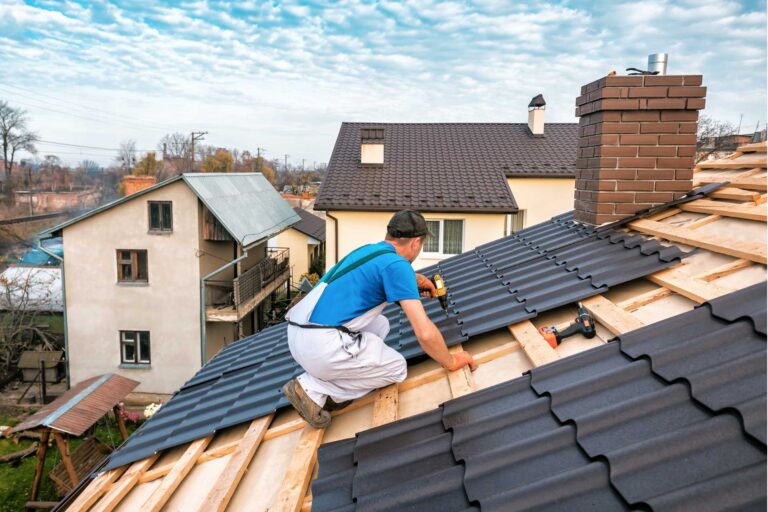
The shift toward modular pavers in the 1970s and 80s was driven by the need for “flexible pavement.” Unlike a solid concrete slab, which is prone to cracking as the earth heaves during freeze-thaw cycles, a paver system can move slightly without losing structural integrity. For the budget-conscious owner, this was a paradigm shift: it meant that a patio could be repaired surgically rather than replaced entirely. Today, we are seeing an evolution toward “permeable” systems, which allow water to infiltrate the ground directly, reducing the need for expensive drainage infrastructure and municipal runoff fees.
Conceptual Frameworks and Mental Models
To manage a project with limited resources, professionals apply engineering mental models that prioritize the “invisible” over the “visible.”
1. The Sub-Grade Density Framework
This model treats the soil under the patio like a foundation. If the soil is “disturbed” or contains organic matter, it will settle unevenly. A budget plan focuses heavily on removing “topsoil” and reaching “compacted sub-soil,” recognizing that the gravel base is only as good as the earth beneath it.
2. The Hydraulic Diverter Model
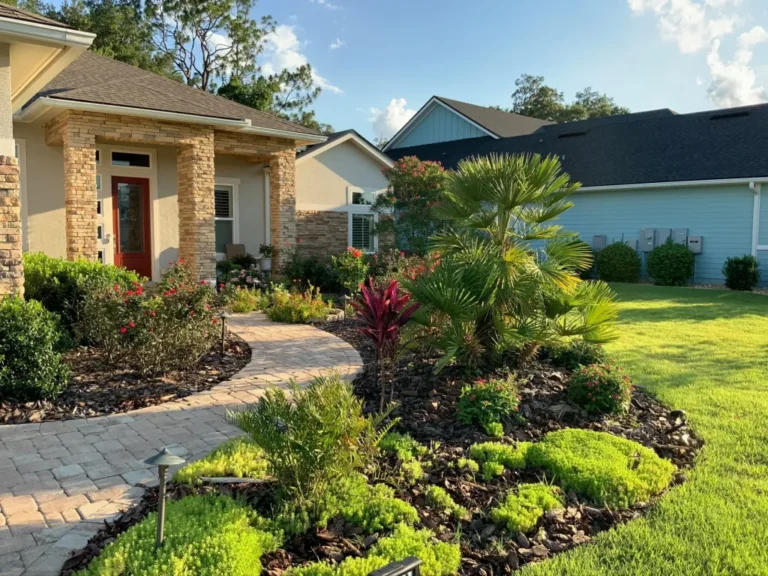
In this framework, the patio is viewed as a giant funnel. Every square foot of non-porous surface increases the volume of water the property must manage. A strategic plan incorporates “soft-scaping” or “dry creek beds” at the patio’s edge to absorb this runoff, avoiding the need for expensive buried PVC drainage lines.
3. The Modular Scalability Concept
This model suggests that the complexity of the design (curves, intricate patterns, varying heights) is the primary driver of labor costs. By adhering to a “rectangular modularity,” a budget project reduces “waste cuts” (shattered pavers that cannot be used) and significantly speeds up the installation timeline.
Material Variations, Categories, and Strategic Trade-offs
The choice of material dictates both the initial capital expenditure and the long-term maintenance labor.
| Material | Cost Profile | Durability | Trade-off |
| Pea Gravel/Crushed Stone | Very Low | Moderate | High displacement; requires edging; “loose” feel. |
| Poured Concrete | Moderate | High | Prone to cracking; difficult to repair surgically. |
| Standard Brick/Paver | Moderate | Very High | High labor for installation; requires joint sand. |
| Reclaimed Stone/Brick | Variable | Exceptional | High “hunting” time; uneven thickness increases labor. |
| Large Format Flags | High | High | Requires heavy lifting/machinery; prone to rocking. |
| Decomposed Granite | Low | Low/Moderate | Can track into the house; requiresa binder for stability. |
Realistic Decision Logic
A budget plan often thrives on “hybridization.” Using a high-end paver for a small dining area (the “active” zone) and transitioning into a well-compacted, stabilized crushed stone for the “secondary” lounging areas can reduce material costs by 40% without sacrificing the aesthetic of the primary focal point.
Detailed Real-World Scenarios
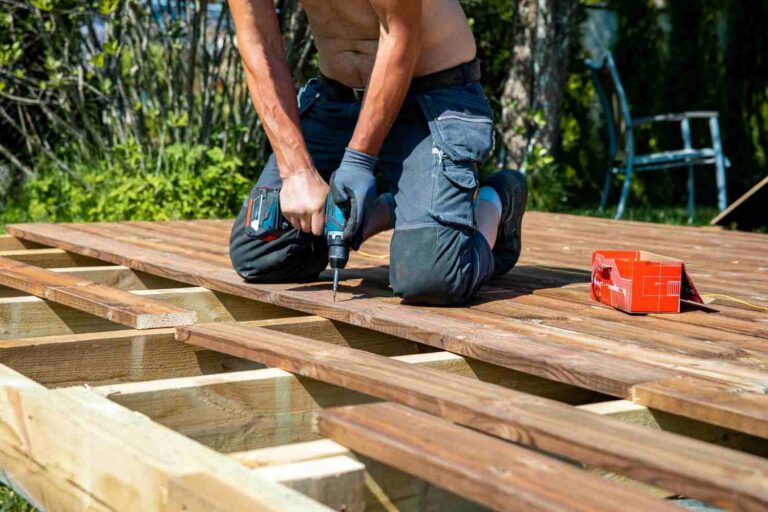
Scenario A: The “DIY” Base, “Professional” Finish
A property owner completes the heavy excavation and gravel compaction over a series of weekends, but hires a professional for the “screeding” of the bedding sand and the actual laying of the pavers.
-
The Logic: Excavation is “dumb labor” that costs significantly in professional quotes. Screeding is “precision labor” where mistakes are highly visible.
-
Outcome: Savings of approximately 50% on labor costs with a professional-grade finish.
Scenario B: The Reclaimed Urban Palette
A patio built entirely from discarded city sidewalk bricks or “seconds” from a local masonry yard.
-
The Logic: “Seconds” are pavers with slight color variations or chipped corners that cannot be sold at retail. In a “rustic” or “cottage” design, these imperfections are an asset.
-
Constraint: This requires a “wet-set” or “polymer-sand” approach to ensure that uneven depths don’t create trip hazards.
Planning, Cost, and Resource Dynamics
The financial structure of a patio project is often misunderstood by those who focus only on the “per square foot” price of the pavers.
Typical Cost Distribution (Standard Paver Patio)
-
Excavation & Disposal: 15-20% (Often higher if access is limited)
-
Gravel & Bedding Sand: 20-25%
-
Pavers/Surface Material: 25-30%
-
Edge Restraints & Joint Sand: 5-10%
-
Labor/Equipment Rental: 25-35%
Opportunity Cost: The “Rental” Factor
For a DIY budget project, the cost of renting a “plate compactor” for three days is roughly equivalent to the price of 100 square feet of mid-grade pavers. However, skipping the compactor and using a hand-tamper is the most expensive mistake possible. A hand-tamped base will almost certainly fail within two years, necessitating a total “lift and reset” of the patio—effectively doubling the cost of the project in the long term.
Tools, Strategies, and Technical Support Systems
Precision is the only way to avoid waste in a budget-conscious installation.
-
Laser Levels: Essential for ensuring the 1-2% slope required for drainage. Guessing with a 4-foot level over a 20-foot span is a recipe for standing water.
-
Geotextile Fabric (Non-Woven): This is the single most important “budget” item. It prevents the expensive gravel base from “sinking” into the soft sub-soil over time.
-
Polymeric Sand: Unlike regular sand, this “locks” the pavers together and inhibits weed growth. It is more expensive upfron,t but reduces maintenance costs to near zero.
-
Structural Edging: Plastic or metal edging pinned with 10-inch spikes. Without this, the patio will “spread” outward over time, creating gaps in the center.
-
PVC Screed Rails: Using 1-inch PVC pipes as guides for the bedding sand ensures a perfectly flat (not necessarily level) surface for the pavers.
-
Diamond Blade Wet Saw: Renting a wet saw reduces “shatter waste” significantly compared to using a hammer and chisel.
Risk Landscape and Failure Modes
The “taxonomy of failure” in patio installation is largely subterranean.
-
The “Short-Base” Failure: In colder climates, a base that is only 2-3 inches deep will succumb to “frost heave.” The expansion of frozen water in the soil will push the pavers upward. A budget-safe base should be 4-6 inches of compacted gravel for walkways and 6-8 inches for patios.
-
The “Sand-Trap”: Using too much bedding sand (over 1.5 inches). Bedding sand is meant to provide a smooth surface, not structural support. Excess sand will eventually wash out or shift, causing the pavers to dip.
-
Compounding Erosion: If the patio edge is not “backfilled” with soil and sod, the bedding sand will migrate out during the first heavy rain, leading to a collapse of the perimeter pavers.
Governance, Maintenance, and Long-Term Adaptation
A patio is a managed asset that requires a “review cycle” to preserve its value.
-
The “Joint-Sand” Audit: Every two years, inspect the gaps between pavers. If the sand has washed out, replace it with polymeric sand immediately to prevent moisture from reaching the bedding layer.
-
Adjustment Triggers: If a single paver sinks more than 1/4 inch, it indicates a localized base failure (likely a “void”). The “modular” nature of the system allows for the removal of that specific paver, the addition of more base material, and a res, t—preventing the failure from spreading.
-
Seasonal Cleaning: Avoid high-pressure power washing directly into the joints, as this can dislodge the sand and undermine the stability of the pavers.
Measurement, Tracking, and Evaluation
How do you evaluate the success of a budget installation?
-
The “Bucket Test”: During the first heavy rain, observe the water flow. If water “pools” anywhere on the surface for more than 30 minutes, the pitch was improperly calculated.
-
The “Edge Stability” Check: One year after installation, check the perimeter. There should be zero “migration” of pavers away from the center.
-
Qualitative Signal: The absence of “rocking” pavers. A perfectly set paver should feel as solid as a concrete slab when stepped upon.
-
Documentation: Keep a “Project Map” showing the location of any buried utilities or drainage lines installed during the project. This is vital for future landscaping or home additions.
Common Misconceptions and Industry Myths
-
Myth: “Landscape fabric under the pavers stops weeds.”
-
Reality: Weeds grow from the top down (seeds blowing into the joints), not from the bottom up. Polymeric sand stops weeds; fabric under the sand is for soil stabilization.
-
Myth: “Stone dust is a great base material.”
-
Reality: Stone dust (fines) holds too much water and is unstable in freeze-thaw cycles. Professionals use “3/4 inch minus” crushed stone for the structural base.
-
Myth: “Thicker pavers are always better.”
-
Reality: For a pedestrian patio, a standard 2-inch (60mm) paver is more than sufficient. Thicker pavers are for driveways and only add unnecessary material cost to a patio.
-
Myth: “You don’t need a permit for a patio.”
-
Reality: In many jurisdictions, patios over a certain square footage or those that alter the “impermeable surface” ratio of the lot require a permit. Ignoring this is a significant long-term financial risk during home resale.
Conclusion
The successful implementation of how to plan patio installation on a budget is an exercise in intellectual and engineering honesty. It requires the owner to accept that while the surface provides the beauty, the subsurface provides the longevity. By prioritizing a deep, well-compacted base, utilizing modular designs to reduce labor and waste, and selecting materials that balance aesthetic appeal with lifecycle durability, it is possible to create an outdoor space that rivals professional installations at a fraction of the cost. The hallmark of a superior budget patio is not that it was inexpensive to build, but that it remains stable, flat, and dry for decades after the initial investment.